Hexo博客搭建(简化版)
一、环境搭建
1.1 Git
1 | > git --version |
1.2 Node.js
1.2.1 下载安装Node.js
1 | > node --version |
1.2.2 Hexo与Node.js
| Hexo version | Minimum (Node.js version) | Less than (Node.js version) |
|---|---|---|
| 6.2+ | 12.13.0 | latest |
| 6.0+ | 12.13.0 | 18.5.0 |
| 5.0+ | 10.13.0 | 12.0.0 |
| 4.1 - 4.2 | 8.10 | 10.0.0 |
| 4.0 | 8.6 | 8.10.0 |
| 3.3 - 3.9 | 6.9 | 8.0.0 |
| 3.2 - 3.3 | 0.12 | unknown |
| 3.0 - 3.1 | 0.10 or iojs | unknown |
| 0.0.1 - 2.8 | 0.10 | unknown |
1.2.3 npm
1 | > npm --version |
1.4 Hexo
1 | > npm install -g hexo |
1 | > hexo --version |
1.5 hexo-deployer-git
1 | > npm install hexo-deployer-git --save |
附:官网链接:hexo-deployer-git - npm (npmjs.com)
查看npm安装的包:
1 | > npm list -g –depth 0 |
二、博客搭建
2.1 初始化
1 | $ hexo init HexoBlog |
2.2 本地部署
1 | $ hexo s |
根据提示访问:localhost:4000
2.3 创建Github仓库并设置SSH
2.3.1 设置Github仓库
- 创建时选择public类型仓库即可
- GitHub的默认分支名称有过更新,但也可以手动进入仓库“Setting”界面的“Branches”界面进行修改
2.3.2 设置SSH
配置Git
1
2
$ git config --global user.name "你的Github用户名"
$ git config --global user.email "你的Github邮箱"生成密钥
1
$ ssh-keygen -t rsa -C "你的Github邮箱"
查看密钥
1
$ cat ~/.ssh/id_rsa.pub
PS:直接将密钥在终端里面复制即可,也可以通过路径查找。
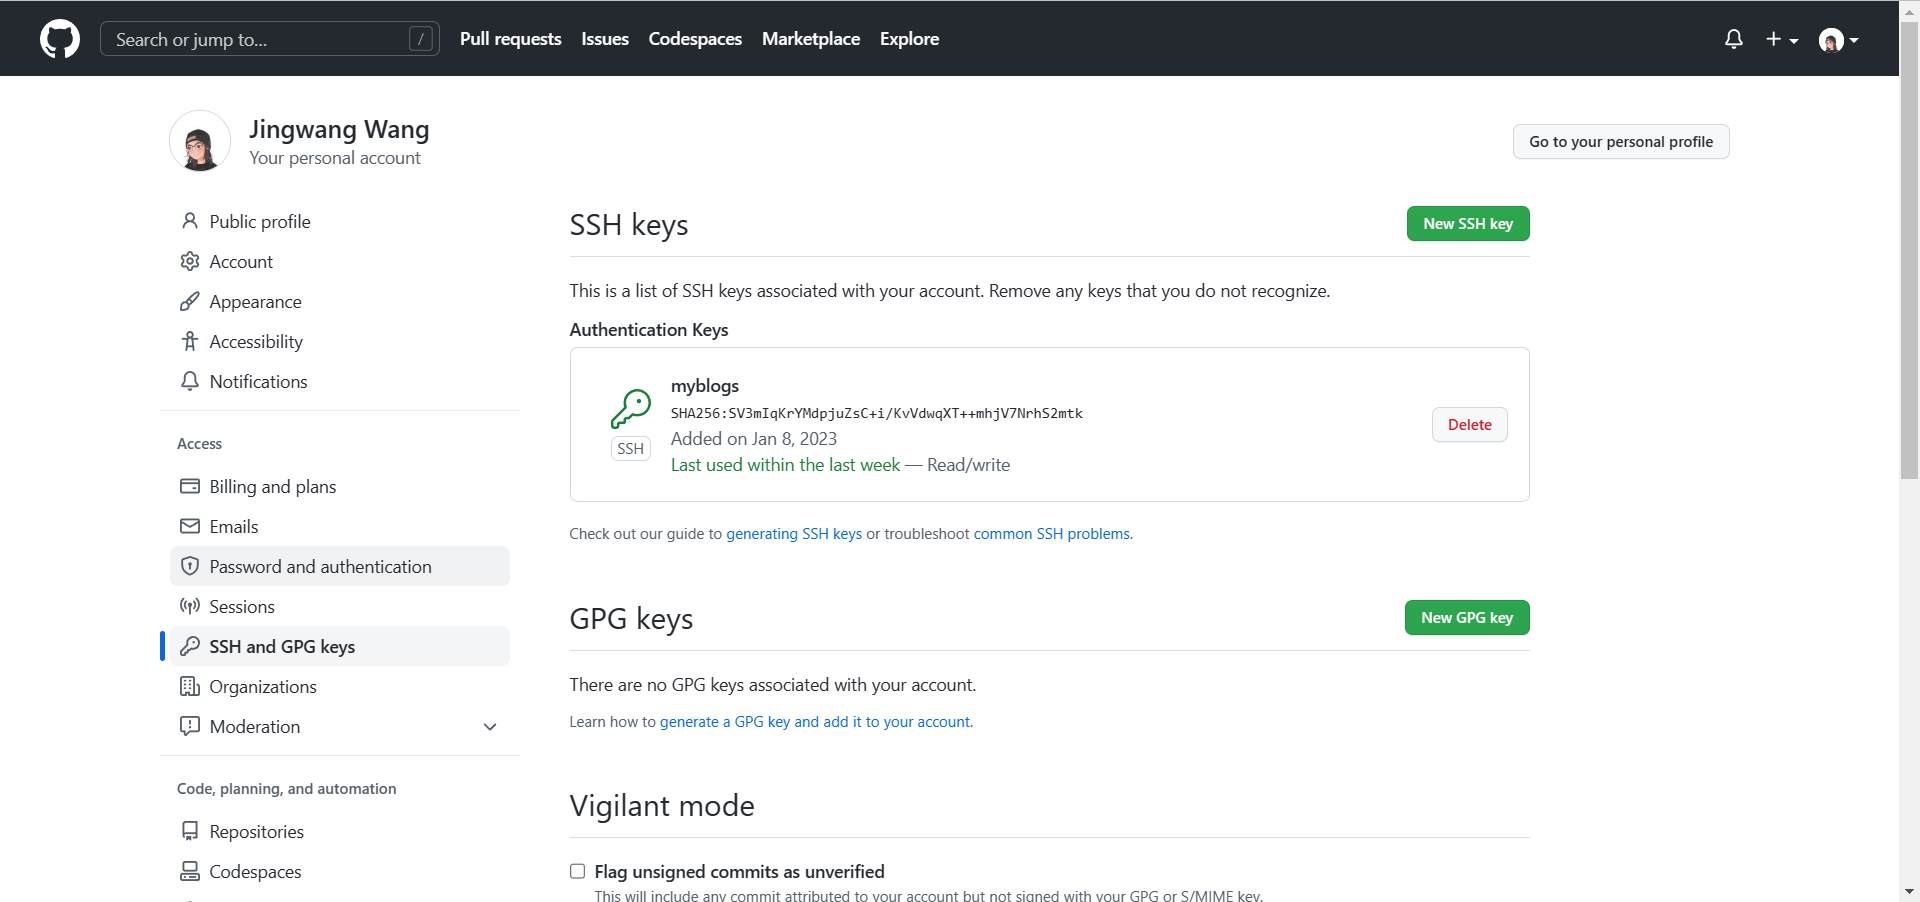
设置仓库SSH

验证
1
$ ssh -T git@github.com
当出现
Are you sure you want to continue connecting (yes/no/[fingerprint])?输入yes等待,输出Hi xxx! You've successfully authenticated...时即连接成功。
2.4 修改博客配置文件
打开blog文件夹,找到_config.yml文件,找到deploy,按照以下格式进行修改:
1 | deploy: |
修改前:
1 | deploy: |
修改后:
1 | deploy: |
找到URL,按照以下格式进行修改:
修改前:
1 | # URL |
修改后:
1 | # URL |
2.5 远程部署
1 | $ hexo clean && hexo g && hexo d |
